About NSX-T backups and restore there are already a lot of documents and blog posts, but still I would like to add an additional topic on top of it. What if you need to restore your NSX-T environment during an upgrade? The past year a lot of new NSX-T versions were released. Think about NSX-T 3.1/3.2 and all there patched versions on top. It can happened that such upgrade is going wrong for whatever reason. So it’s always good to know about the procedure you can go through to restore it.
All officially released versions can be found here: https://kb.vmware.com/s/article/67207
Why restore from backup and not rollback to the earlier version?
The answer is simple: there is no official rollback procedure for NSX-T. If something goes wrong during an upgrade, you have to solve it (with or without the help of VMware support) or try to restore your environment with all available documentation. One of these procedures is the restore from backup of the NSX-T management cluster.
And yes, there are a few other steps when you are in the middle of an upgrade of NSX-T.
How to restore?
Please be aware of the following remarks:
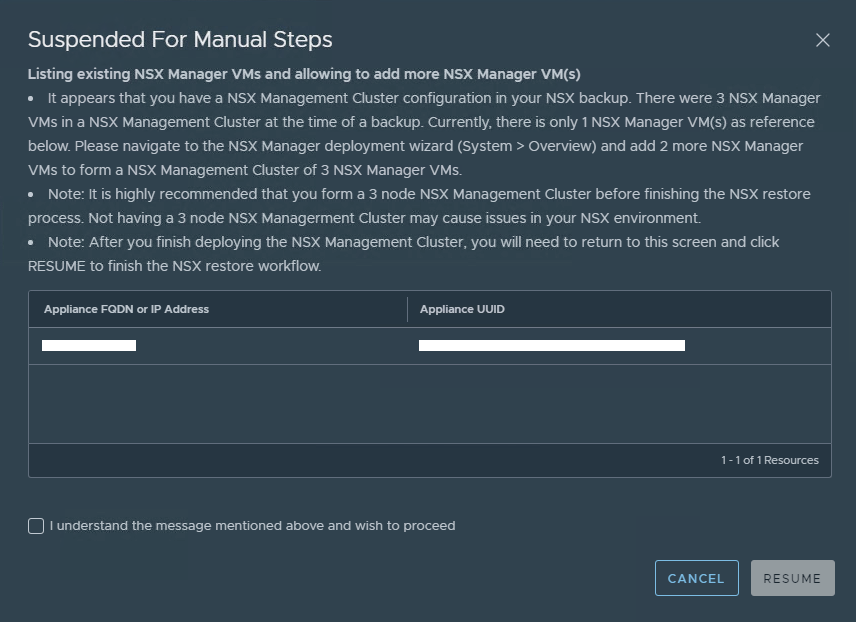
- If you had a cluster of the NSX Manager appliance when the backup was taken, the restore process restores one node first and then prompts you to add the other nodes. You can add the other nodes during the restore process or after the first node is restored.
- Issue 2631703: When doing backup/restore of an appliance with vIDM integration, vIDM configuration will break.
- Typically when an environment has been both upgraded and/or restored, attempting to restore an appliance where vIDM integration is up and running will cause that integration to break and you will to have to reconfigure.
- Workaround: After restore, manually reconfigure vIDM.
- source: https://docs.vmware.com/en/VMware-NSX-T-Data-Center/3.1/rn/VMware-NSX-T-Data-Center-313-Release-Notes.html
Before the restore
- Be sure that all NSX Manager nodes are powered off.
- Define which backup you want to restore. This will define with which IP/FQDN you have the deploy the first manager node.
For this, I would to recommend to follow the simple script that has been delivered on every NSX-T manager node: https://docs.vmware.com/en/VMware-NSX-T-Data-Center/3.1/administration/GUID-0CC64F79-E733-4B0E-B7DD-24A629F1275A.html
The restore process during an upgrade
If you have to restore your environment during an upgrade, place be sure to follow the steps in this documentation: https://docs.vmware.com/en/VMware-NSX-T-Data-Center/3.1/upgrade/GUID-CD90B16E-1053-407F-94E0-1603157600FE.html

- Deploy your Management Plane node with the same IP address that the backup was created from.
- Power On the new VM.
- After the new manager node is running and online, you can proceed with the restore.
- From a browser, log in with admin privileges to the NSX Manager.
- Select System > Backup & Restore.
- To configure the backup file server, click Edit.
- Do not configure automatic backup if you are going to perform a restore.
- Enter the IP address or FQDN.
- Change the port number, if necessary. The default is 22.
- In the Directory Path text box, enter the absolute directory path where the backups are stored.
- Upload the upgrade bundle that you used at the beginning of the upgrade process.
- Login into the NSX-T Manager -> System -> Upgrade
- Upgrade the Upgrade Coordinator.
- Restore the backup taking during the upgrade process. The restore process prompts you to take action, if necessary, as it progresses.
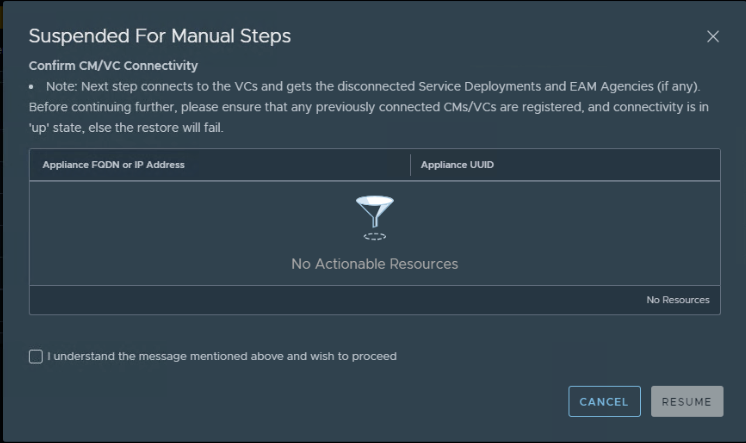
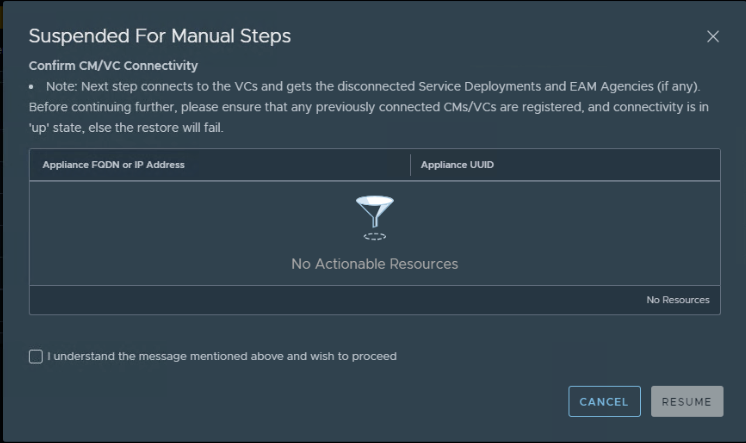
- Check if the Compute Manager is in UP state. This can be checked in the NSX-T UI system → compute managers
- The restore process has noticed that previously a NSX Manager cluster was deployed. Re-create the cluster by re-deploying the other remaining nodes.
- This can be done via the UI or CLI. It’s very well explained here: https://docs.vmware.com/en/VMware-NSX-T-Data-Center/3.1/installation/GUID-B89F5831-62E4-4841-BFE2-3F06542D5BF5.html
ATTENTION: Joining and the cluster stabilizing process might take from 10 to 15 minutes. Run “get cluster status” to view the status. Verify that the status for every cluster service group is UP before making any other cluster changes or adding the third node. From experience it seems that the controller status can stay down, but don’t worry yet. In this case and only if ALL other process are UP, you can continue by adding the third node.
If everything went well during the above procedure, you should have successfully restored your environment. Before continuing the upgrade, be sure you addressed the encountered problem(s), why in the first place you had to restore NSX-T.
Cleanup and verification after the restore.
- If you had other manager cluster VMs that you powered down before the restore, delete them after the new manager cluster is deployed and restored.
- Perform a NSX-T health check. Be sure to check NSX appliances/transport nodes/T0/T1/…
- Check if all certificates are OK (versions prior 3.1.1 have to perform actions to get this OK)
- https://docs.vmware.com/en/VMware-NSX-T-Data-Center/3.1/administration/GUID-BDEF2418-8319-4FB3-80BE-DE44D1FDCE4D.html
- Out of experience in 3.1.1+ version, it could happen that certificates were not applied to the 2nd and 3th node. This needs more investigation for my side, but please check this out. on of the possible impacts could be that the load balancer in front of the NSX-T manager cluster will take the nodes out of the pool.This would mean only the first node remains in the pool. This leads to no redundancy and/or load balancing.


